ELENINTS Player's Guide
Meet the Drops |
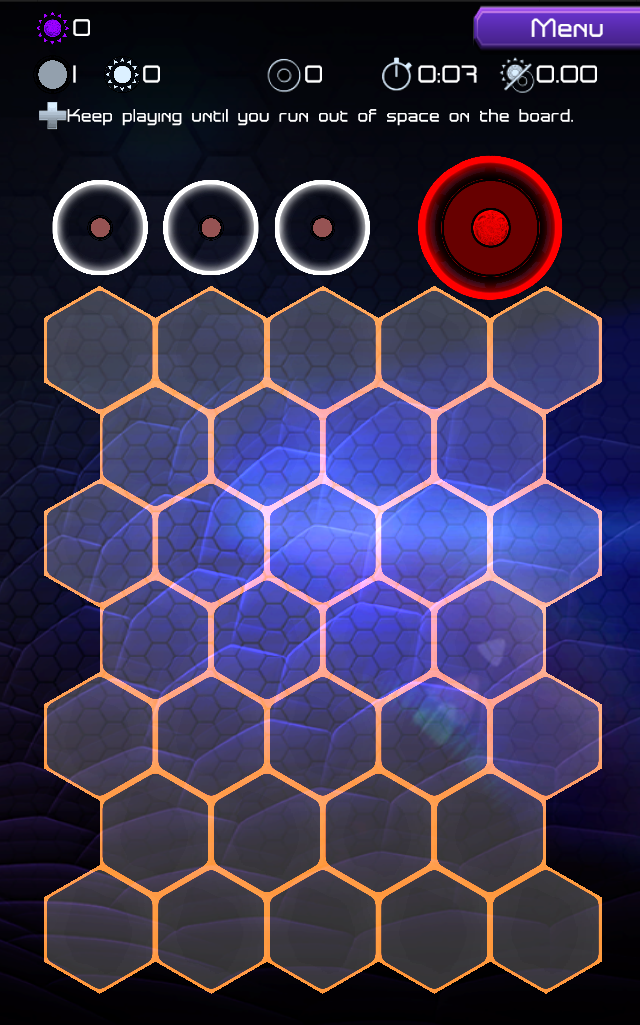
Elenints presents the player with a random object (sometime referred to as a "Drop") to place on the Factory Floor each turn. Drops fall into a few categories: Nints, Hazards and Utilities.
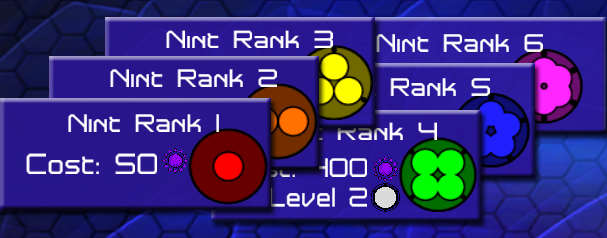
NintsThe key pieces in the game of Elenints are the Nints themselves. Each has a rank equal to the number of pips it contains. When you combine enough of each Rank, they merge into a single, higher-ranked Nint. Combine two Rank 1 Nints to make a single Rank 2 Nint. Three rank 2 Nints become a Rank 3 Nint, and so on. Rumors persist that a Rank 7 Nint can be constructed, but apparently they are so unstable that they cannot exist for more than a second before exploding, releasing vast amounts of Protomatter. |
 |
ProtomatterBoth a reward and a resource, Protomatter is released whenever Nints merge into higher ranks. In standard situations, one unit of Protomatter is expelled for each pip in the Nints that merge. You can multiply those rewards with wisely-placed Drops. Protomatter is the resource used by the Fabricator to build custom-designed Nints and Utilities. |
Protomatter of various values spilled onto the Factory Floor. |
HazardsIn addition to regular Nints, you'll also encounter hazards like Creepers and Nulls as well as very useful one-shot tools like Binders and Radiants. When one of these pieces materializes on deck, think carefully about where they should go. |
Nulls
|
 In some play modes, some Nulls might be scattered across the board at the beginning. These hazards prevent you from placing Nints in their occupied hex. The only way to get rid of them is by burning them away with a Radiant (see below). Nulls also occur if you drop a Binder onto a hex that doesn't allow it to complete a combo.
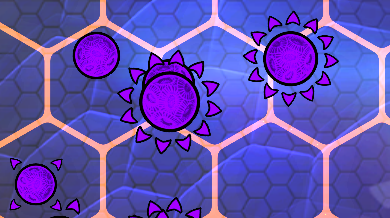
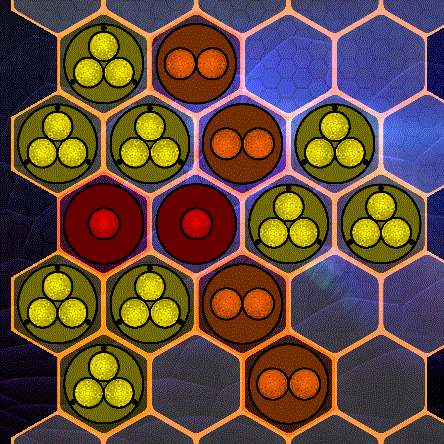
CreeperBy far the most common hazard is the Creeper. They prevent you from placing Nints in the hex where they reside, and they move every turn. If not dealt with, they can eventually clog the entire board, forcing a premature end to your work. If a Creeper is blockaded so that it cannot move, it collapses into a Singularity. There are three ranks of Creeper. |
 Rank 1 Creepers are yellow. They can only move to adjacent hexes each turn. Rank 1 Creepers are yellow. They can only move to adjacent hexes each turn.
|
 Rank 2 Creepers are red. They can move to any available hex every turn. Rank 2 Creepers are red. They can move to any available hex every turn.
|
 Rank 3 Creepers are magenta. Like Rank 2 Creepers, they can jump any distance between turns, but they also leave behind a Null every time they jump. Rank 3 Creepers are magenta. Like Rank 2 Creepers, they can jump any distance between turns, but they also leave behind a Null every time they jump.
|
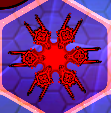
Singularities
|
 When a Creeper is destroyed (either by using a Radiant or by trapping it so it can no longer move) it leaves behind a Rank 1 Singularity. These pesky remnants still prevent you from placing Nints, but they can be burned away with a Radiant or Transmuted using the same rules as the Nints. (Two Rank 1 Singularities Transmute into a single Rank 2, and so on.) While they can be annoying and interfere with your work, Transmuting four Rank 3 Nints creates a massive eruption of Protomatter.
Utility DropsWith all these hazards, it's a good thing you'll have access to a few one-shot tools like Binders and Radiants. They don't appear on deck often, so when they do, be careful to make the most of them. |
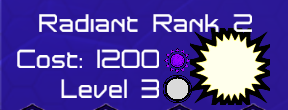
Radiant
|
Binder
|
 Possibly the most useful Utility, the Radiant burns away anything on the Factory Floor. Nulls, Singularities, even Nints, if you should need to clear one out. Note that while burning a Creeper with a Radiant effectively destroys the mobile hazard, it will leave behind a Singularity that must be dealt with separately.
 A tricky tool to use correctly, the Binder acts as a wildcard. If placed among a group of Nints that require only one more Nint to Transmute, the Binder transforms into the necessary Nint and causes a Transmutation. Drop it next to three Rank 3 Nints, and it becomes the fourth necessary to Transmute up into a Rank 4 Nint. But be warned: If dropped in a hex that doesn't complete a combo, the Binder degrades into a Null which can only be eliminated using a Radiant.

|
|


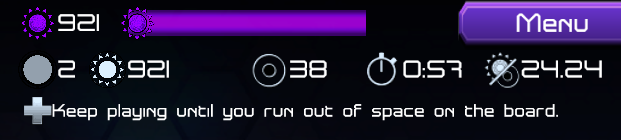
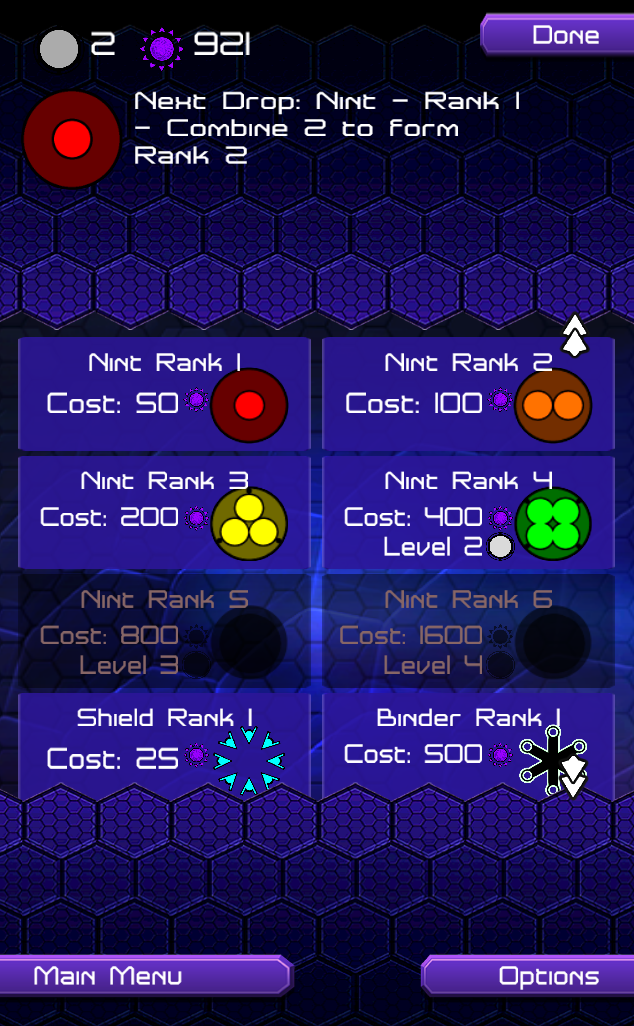
The FabricatorThe Protomatter gathered by merging Nints can be spent in the Fabricator (accessed via the Menu button) to create a custom Nint of a desired Rank or any of a variety of very useful one-shot Utilities. Pressing the Menu button from the Factory Floor brings up the Fabricator interface. Below the section at the top which describes the current item On Deck, a list of currently available Nints and Utilities can be accessed. The Fabricator contains some Utilities that never appear On Deck during regular gameplay. |
DescriptorThe space above the Fabricator list is the Descriptor. If offers details about the current item On Deck back at the Factory Floor, explaining its purpose and use and any penalties associated with replacing it via the Fabricator. For instance, if a Creeper is On Deck, all Fabrication costs are increased by the cost of a Radiant to cover disposal of the Creeper. Additionally, above the descriptor are the only two stats that matter during Fabrication: Current Level and Current Protomatter count. Some Drops have minimum level requirements, and everything requires Protomatter to construct. Tap anything on the screen to get more detail about it. |
|
|
 Any standard Nint can be bought for the appropriate price as long as the player has reached a certain Level if one is specified. Additionally, the other random Drops that show up On Deck (Radiant and Binder) can also be purchased when needed.


PROTIPS
* Tap any of the elements of the scoreboard at the top of the game screen for more details about each stat.
* Most Elenints can be dropped only on an empty tile. Radiants and one-shot Elenints like Swap and Shift are the only ones that must be dropped on an existing Elenint on the board.
* Don't be afraid to use the Fabricator to convert your Protomatter into a useful Elenint. While the cost is deducted from your current Protomatter supply, your total score and unlocked Cabinets are unaffected.
* Not sure where to put that Elenint? Why not store it in an unlocked cabinet for later use?
* Not sure where to put that Elenint? Use the Fabricator in the Menu to replace it with something more useful.
* The cost of using the Fabricator when your current Elenint is a Creeper increases to include the cost of a Radiant (to destroy the Creeper). If you're short on Protomatter, it might be worth dropping the Creeper onto the field to avoid the additional de-fabrication fee.
* If you have a Binder on deck and no valid combos, you can store that Binder in an unlocked cabinet until you find a better use for it. If you haven't unlocked a cabinet, it might be worthwhile to replace the Binder with a lower-ranking Nint from the Fabricator to avoid leaving a Null on the board.
|
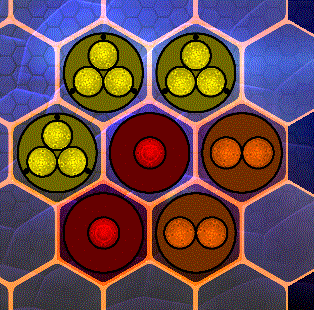
* For the highest score, chain Overloaded Transmutations together. Chained Transmutations multiply the rewarded Protomatter, and Overloading a combo with more Nints than are necessary produces a massive bonus for each extra Nint.
Yields a Rank 4 Nint and 50 Protomatter |
Yields a Rank 4 Nint and 406 Protomatter |
KNOWN ISSUES
Since upgrading our test Asus Transformer 101 to Android 4.0 (ICS), Elenints crashed intermittently. Since the game saves regularly, you can continue your game where you left off.